|
|
iPrintfromHome.com is designed to take the image file you've selected and automatically "crop to fill" it into the print size that you've ordered.
For instance if your digital file has an "image size" of 4x6-inches (or proportionally the same size ratio) and you've placed an order for an 8x10-inch print, our system will take the 4-inch dimension and make it 8-inches.
When that happens, the 6-inch dimension is increased beyond the print size you've ordered and the sides of your image are "cropped" out. (This is what we mean by "crop to fill") Sometimes that cropping is not an issue.
However, if your intention is to have your image made without any cropping ("full image") this is what you should do:
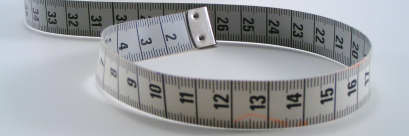
Before uploading your digital image files to the iPrintfromHome.com site, open the files in Photoshop (or a similar Photo Imaging Editing Program), and select the "image" pull down to determine the "image size" of your file. Your digital file should have an “image size” sized at, or smaller than the standard print size you want your prints to be.
If the image file is smaller than your desired print size, the next step is to select "canvas size" from the "image" pull down and set it to 8x10-inches (or whatever standard print size you're choosing.)
By adjusting the canvas size, your digital image file is then placed into the center of the canvas to create a new file that accommodates the full image you want, placing borders around the image.
(Also, you may find it necessary to adjust the "image size" of your files before changing the "canvas size" to ensure that you get the borders and margins that you want.)
Then save the new file(s) you've made, logon to the iPrintfromHome.com site and upload and place an order for your images.
Questions? Comments?
Click here to send us an email.
Call our hotline: 716-228-2983
|


 Welcome to iPrintfromHome!